Why a renter-friendly smart thermostat makes sense: benefits, limitations, and when to choose one
Smart thermostats bring scheduling, remote control, and automated setbacks that reduce wasted heating and cooling—ENERGY STAR notes measurable energy savings from certified models, and independent studies of learning thermostats report double-digit reductions in many homes (ENERGY STAR; Pennsylvania PUC / Nest study). Reviews also point to clear comfort and convenience wins for everyday life (BobVila).
Limitations include lease or landlord rules that may forbid replacing built-in HVAC controls (All Property Management), and older systems that lack a C‑wire or use incompatible heat-pump/line-voltage setups (PoweredByEFI). Choose a renter-friendly model if you plan to stay >1 year, secure landlord sign-off, and confirm compatibility (or use a vendor PEK/C‑wire adapter) (ecobee/PEK via Home Depot). For short stays or zero-permanent-change needs, control portable heaters/ACs with plug-in solutions instead (Home Depot).
Key features and compatibility checklist for renters (non-invasive install, power options, HVAC compatibility, app controls, portability)
Look for non-invasive mounting (adhesive, magnetic or surface plates) so you can remove the unit without drywall damage (Yahoo Tech). Prefer battery-powered models or those that explicitly support “no C‑wire” operation, or confirm the vendor offers a power‑adapter/PEK as an alternative (Google Help; ecobee).
Verify HVAC compatibility (single‑stage, heat pump, multi‑stage, electric heat, zoned systems) using manufacturer checkers and reviews (Wirecutter). Confirm reliable mobile apps, multi-user permissions and assistant integrations (PCMag), and ensure adhesives/baseplates are truly removable (Yahoo Tech). Quick pre-purchase steps: photograph existing wiring, run compatibility tools, confirm return policy and landlord approval (Google Help; ecobee).
Renter-friendly options explained: battery-powered and wireless thermostats, plug-in/portable units, smart radiator valves and vents, and temporary C‑wire solutions
Battery-powered/wireless thermostats are compact and require no wiring—easy install and landlord-friendly, though feature sets and battery life vary and some systems still need a C‑wire adapter (Home Depot Canada).
Plug-in solutions and smart plugs can control portable heaters or ACs without altering the wall thermostat; useful for room-level control but less efficient than central HVAC and may need venting/window kits for ACs (Home Depot; CNN Underscored).
Smart TRVs (radiator valves) give per-room control and are generally renter-installable—check physical fit and compatibility (TechAdvisor). Motorized smart vents offer passive zoning but can unbalance HVAC systems and show mixed savings in real-world tests (CNET; CNET).
Temporary C‑wire solutions like the Nest Power Connector or add‑a‑wire kits avoid running new wiring—verify furnace compatibility before use (Google Store).
How to install, remove, and transfer a renter-friendly smart thermostat safely (step-by-step for common types + preserving the original thermostat)
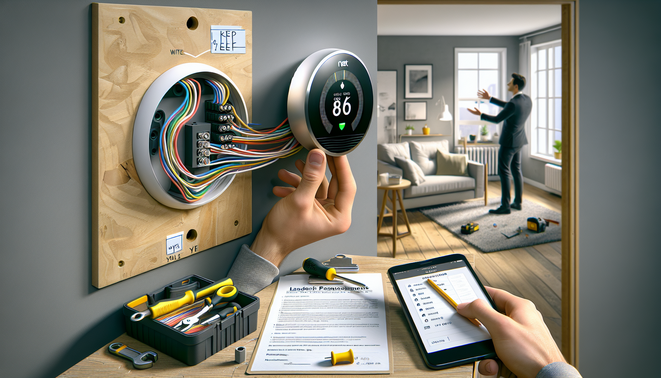
- Power & prep — turn off the HVAC breaker; open the old thermostat, label each wire with tape and take clear photos of wiring and the backplate before disconnecting (Google Nest Help).
- Remove original — unscrew the faceplate, loosen terminal screws, gently pull wires free and tuck them through the hole; keep the original thermostat, backplate, screws and photos in a labeled bag (Ecobee Support).
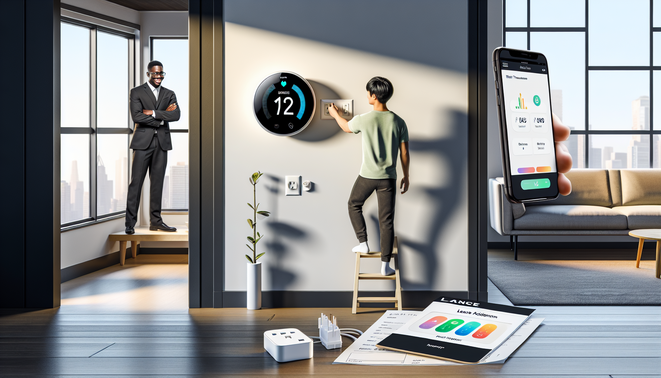
- Install renter-friendly (non‑permanent) — follow the new device’s wiring diagram, use damage-free mounting (3M Command strips or adhesive plate) or an approved base, and test power before snapping on the display (Ecobee Support; 3M Command).
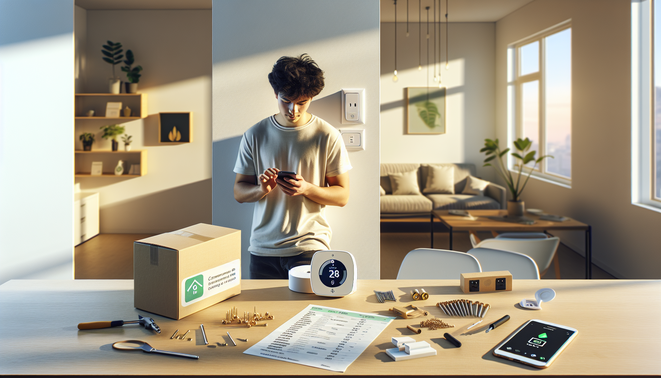
- Moving out — remove device, unlink and factory‑reset it in the app, then reinstall the original backplate and reconnect wires per your photos; verify HVAC operation (Google Nest Help).
Renters’ practical tips: getting landlord approval, lease considerations, maximizing savings, privacy/security, and troubleshooting
Get written permission from your landlord/property manager and offer to restore the original thermostat at move‑out—many landlords require permission before wiring changes (CNET). Confirm lease language on fixtures and ownership, as smart-device ownership can be legally complex (MSEvansLaw).
Maximize savings by choosing ENERGY STAR models and using schedules, eco modes and learning features (ENERGY STAR). Verify C‑wire presence or use suitable adapters (AskGem).
Protect privacy and security: change default passwords, enable two‑factor auth, use unique account emails and place devices on a guest Wi‑Fi network (CBS News).
Quick troubleshooting: reboot thermostat and router, check breakers and batteries, confirm C‑wire power, and call an HVAC pro before attempting incompatible wiring (CNET).
Sources
- 3M Command – Damage-Free Mounting Strips
- AskGem – How to tell if your system has a C‑wire
- BobVila – Best Smart Thermostats 2026
- CBS News – Smart home easy set up and internet password protections
- CNET – Renters can buy smart thermostats too (but they may want to hurry)
- CNET – Keen Home Smart Vent preview
- CNN Underscored – Best portable air conditioner
- ecobee – Power Extender Kit
- Ecobee Support – How do I remove the backplate on my ecobee
- Ecobee Support – Smart installation and setup guide
- All Property Management – Install Smart Thermostat in Rental
- Home Depot – Wexstar Plug-In Thermostat for Portable Heaters and Air Conditioners
- ecobee/PEK via Home Depot – Smart Thermostat Essential + Power Extender Kit
- Home Depot Canada – Emerson Sensi Touch Smart Thermostat
- MSEvansLaw – The legal implications of smart home technology in rental properties
- Wirecutter – The Best Thermostat
- PCMag – The Best Smart Thermostats
- Pennsylvania PUC – Nest learning thermostat study
- PoweredByEFI – What’s a C‑wire? Do I need one?
- TechAdvisor – Eve Thermo review
- Yahoo Tech – Renting? Want a smart home?
- Google Nest Help – Preparing to install (power & prep)
- Google Help – Nest thermostat C‑wire information
- Google Nest Help – Unlink and factory reset thermostat
- Google Store – Nest Power Connector
- ENERGY STAR – Smart Thermostats
- ENERGY STAR – Smart Thermostats (Home Upgrade)